We all know the famous adage from an unknown author "a picture is worth a thousand words". Using images wisely can enhance your website tremendously, increase user acceptance, and ultimately broaden your global online presence.

Why is the choice of images important?

Written by

Last updated on the

A few tips on using images wisely

There is no perfect way of choosing

If there is one thing you should remember about choosing images, this is it: there is no good or bad rule to follow. There are only common sense and psychological principles you should follow. While there are multiple factors that could be taken into account, here are two main criterias you should think about.

The context

Your website should adapt a user interface design that is both practical and realistic. The context therefore can apply to several aspects: it depends on the content of your website, on your audience, on the product you are selling, on the services you provide... and so on.

The quality

Users have become very demanding regarding the quality of images. Whether you have photographs, icons, animated pictures or infographies, you should always go for the top quality. Furthermore, be careful with photo editing. They can be a great addition... or a great weakpoint to your website.
Conclusion

An efficient and SEO successful website requires well-chosen images, in regards to the context they fit in, as well as their quality. High-quality photographs, icons and infographies are mandatory.

How to apply filters on an image?

Please follow these steps to apply filters.

HTML

  1. Create a new HTML file.
  2. A container with the id 'demoAppImageFilter' wraps the content.
  3. An image with id 'demoImgNotFiltered' is included with a dynamic class binding 'selectedFilter'.
  4. Buttons trigger the 'applyImageFilter' method with specific filters:
  5. 'imgFilterBw' for black & white.
  6. 'imgFilterSepia' for sepia.
  7. 'imgFilterBlur' for a blur effect.
						
<div id="demoAppImageFilter">
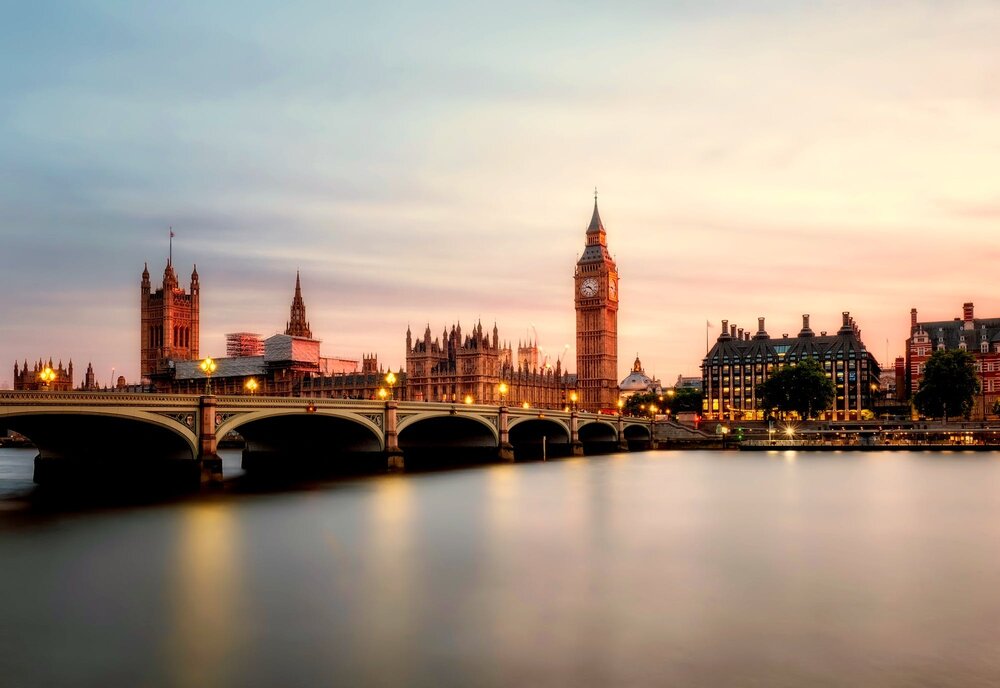
	Big Ben


</div>


CSS

  1. Create a new CSS file.
  2. Styles for the 'imgFilterBw' class apply a grayscale filter of 100% to the image.
  3. Styles for the 'imgFilterSepia' class apply a sepia filter of 100% to the image.
  4. Styles for the 'imgFilterBlur' class apply a blur effect of 5 pixels to the image.
						
.imgFilterBw {
	filter: grayscale(100%);
}

.imgFilterSepia {
	filter: sepia(100%);
}

.imgFilterBlur {
	filter: blur(5px);
}


Vue.Js

  1. Create a new JavaScript file.
  2. Vue app is created with a data property 'selectedFilter' set to an empty string.
  3. A method, 'applyImageFilter', is defined to update image filters and 'selectedFilter'.
  4. Inside 'applyImageFilter':
  5. Existing classes on the image are cleared.
  6. 'responsiveImg' class is added for basic styling.
  7. The specified filter class is added for image effects.
  8. 'selectedFilter' is updated with the current filter.
  9. The Vue app is mounted to the HTML element with the id 'demoAppImageFilter'.
						
const app = Vue.createApp({
	data() {
		return {
			selectedFilter: ''
		};
	},
	methods: {
		applyImageFilter(filter) {
			const imgElement = document.getElementById('imgNotFiltered');

			imgElement.className = '';

			imgElement.classList.add('responsiveImg');
			imgElement.classList.add(filter);

			this.selectedFilter = filter;
		}
	}
});
app.mount('#demoAppImageFilter');


Live demo

Change the image effects by clicking the buttons below

Big Ben